Comprehensive step-by-step guide for MetaMask hot wallet. Easily create your MetaMask, transfer ETH and take part in ICOs or other decentralised token sales.

Why do I need my own wallet like MetaMask to buy $AIC?
In order to buy the $AIC token, you must be able to interact directly with the blockchain and the so-called “smart contracts”. These smart contracts ensure that your transaction works and you get your $AIC tokens. But don’t worry, you only have to do 3 clicks, your Metamask wallet will do the rest for you.
With the $AIC token you get access to the Crypticorn AI ecosystem and thus to artificial intelligence for crypto trading.
What is a MetaMask hot wallet?
Metamask is a cryptocurrency wallet. As a digital wallet or hot wallet, it supports the use of all coins based on the Ethereum (ERC20) blockchain. The crypto wallet can be used as an app or as a browser extension. It has the advantage that smart contracts and decentralized applications (dApps) can be integrated with it. It is possible to link them to platforms where NFTs are traded. However, it can also be used in blockchain gaming, decentralized finance and decentralized exchanges. This makes it a universal crypto tool that is easy to use.
Before you start with MetaMask
Before you start using MetaMask, you need to register on a crypto exchange of your choice where you are able to buy coins like Ethereum (ETH) or USDT (the stable coin of the US Dollar).
First, create an account on your preferred crypto exchange like Binance, KuCoin, Bitget, etc. and verify your identity – if needed. The verification process may vary depending on the exchange. Once you are verified, you can use your account. Now transfer the amount of money you want to invest in cryptocurrencies to your account. Note that the transfer can take up to a few days in some cases. When your desired amount has been transferred to your crypto exchange account, you can buy your first cryptocurrencies. Notice that you can buy our Crypticorn AIC token only with Ethereum (ETH) or USDT on the ERC20 chain.
The Ethereum need to be transferred to your (Metamask) wallet later. In the following section, you learn how to set up a Metamask wallet.
Step-by-step to your new MetaMask Wallet
To buy our Crypticorn AIC token you need a wallet. In the following instructions, we will show you how to set up such a wallet quickly and easily on MetaMask.
1. Download Metamask and add it to your browser
First, install the MetaMask extension for your browser.
Just go to: https://metamask.io/download/ The following browsers are supported: Firefox, Edge, Chrome and Brave.

Click “Get” to add the extension in the corresponding browser.

2. Creating and setting up your Metamask wallet
After the installation MetaMask will open automatically. If you don’t have a wallet yet, click on “Create new Wallet” to create a new one.

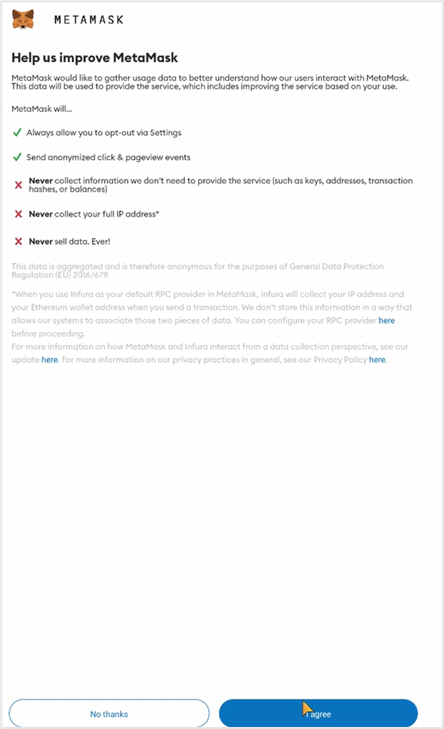
This request can be both accepted and rejected. This is only about sending anonymous user data. After that accept the terms of use.
In this step, you need to create a password for the wallet.

MetaMask shows you a video that informs you about security and usage. To secure your wallet, click on “Start”.

In the following 12 backup phrases are generated. This is the only way to recover the wallet in case of browser/device data loss. For this reason, it is advisable to keep these 12 words in a safe place.

Enter your MetaMask password to get the backup phrases.

In this step, the 12 backup phrases can be displayed by clicking on “View”. Save the 12 words and store them well. Once you have all 12 phrases safely secured or written down, click “Continue”. If you lose these 12 words you can’t recover your coins, never. No one can help you with that.

To confirm, you need to match the phrases below to the correct numbers. This is the only way MetaMask can ensure that you have access to the backup phrases. Then click on “Complete Backup“.

After successfully entering the backup phrases, the wallet was successfully created. Do not forget to save the backup phrases well! (Note: The user of the wallet is responsible for having access to his backup phrases at any time. In case of loss of these words, no one can recreate the wallet. Not even MetraMask).
WARNING: No one will ever ask you these words. NEVER!!

You can find the address of your MetaMask wallet in your “Account 1”.
Send ETH to your MetaMask wallet
After you have set up your MetaMask wallet you still have to send ETH or USDT (ERC20). To do this, copy your wallet address, go to the crypto exchange of your choice and go to the area where you can withdraw cryptocurrencies. Choose ETH or USDT for the tokens you want to withdraw. Enter ERC20 as network and enter your MetaMask wallet address – yes, also for USDT! Do not send USDT on TRC20 or any other chain, it has to be ERC20, the Ethereum blockchain.
Confirm your transfer and the coins will be sent to your MetaMask wallet. Please note that it must be USDT on ERC20, i.e. on the Ethereum chain, otherwise you cannot use it to buy the $AIC token. This is very important.
Summary: Metamask Hot Wallet
You just set-up your MetaMask hot wallet. Now you are able to take part in our token sale (also called PinkSale which stand for Initial Coin Offering) with your MetaMask hot wallet. We’ll show you how to do this here: step-by-step guide for the $AIC public token sale.
And please remember: No one will ever ask for your password, seed phrase or whatever! NEVER! Only scammer do.


